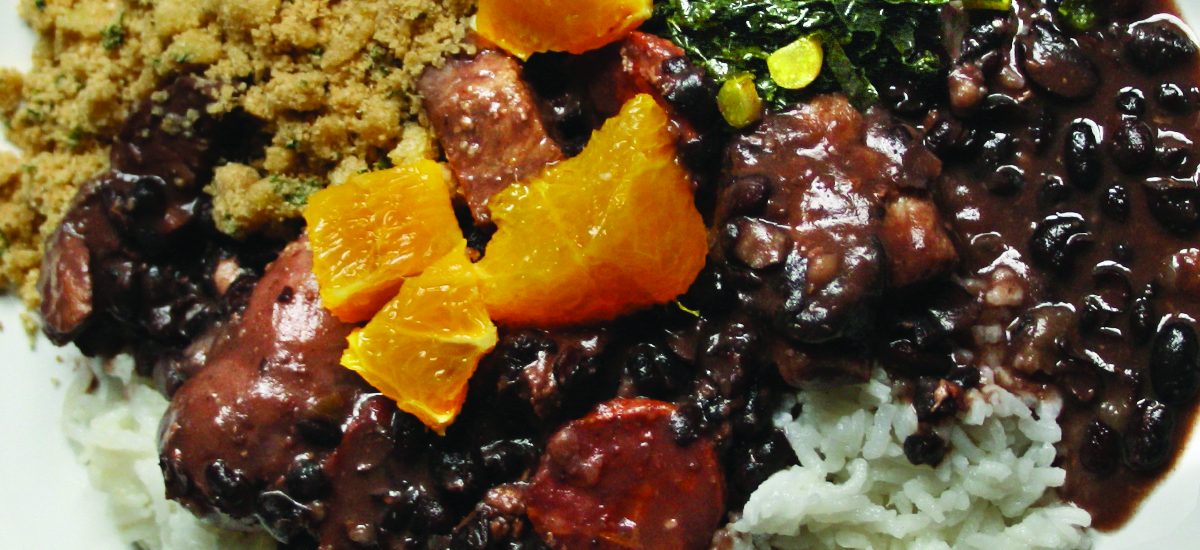
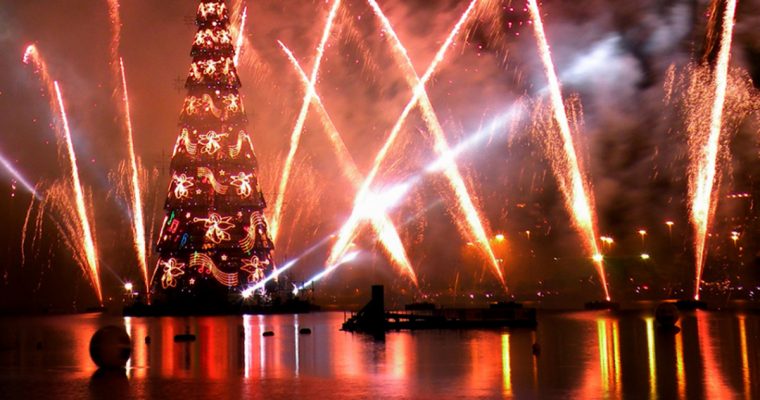
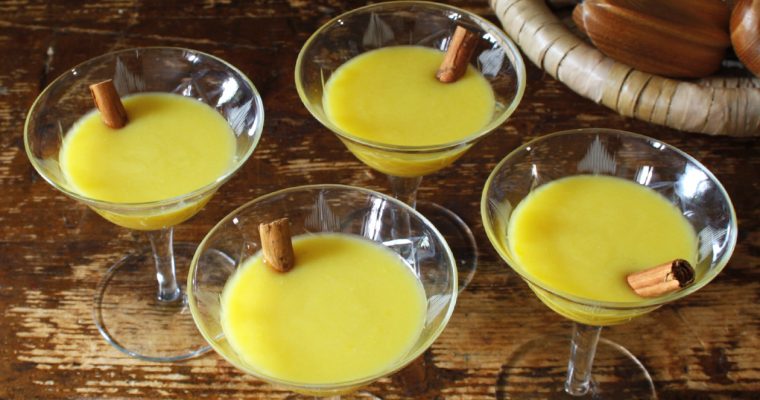
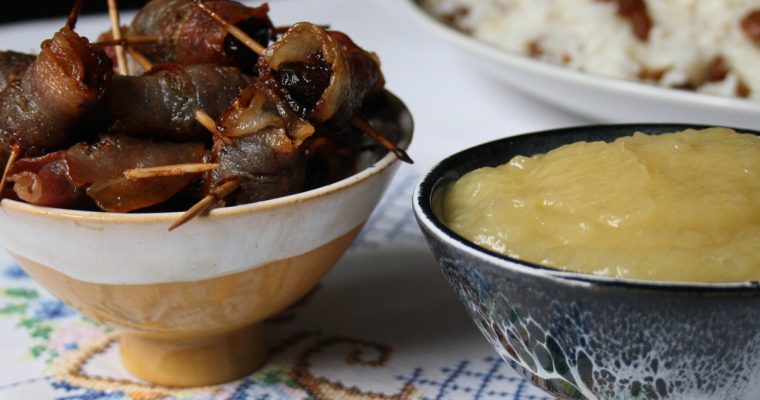
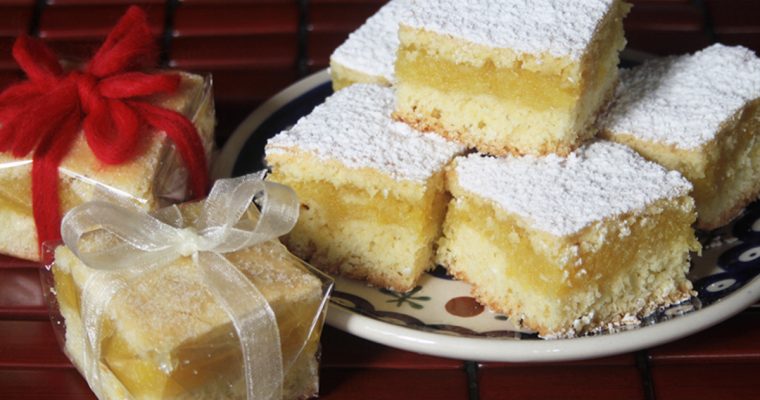
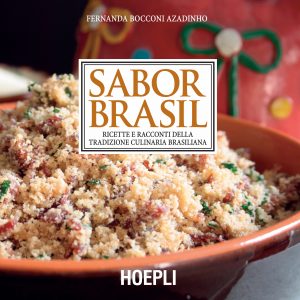
Biscoito de Polvilho (Manioc Starch Cookies)

Biscoito de Polvilho (Manioc Starch Cookies)

CLICK HERE TO WATCH THE VIDEO


“Biscoito de polvilho” is a dry, crisp, very airy and light cookie. The word “polvilho” (the main ingredient of this recipe) comes from the Latin “pulvis” and from the Spanish “polvillo”, meaning “fine powder”.
The exact origin of the recipe is unknown, but in the 18th century it was already prepared in the large farms in the hinterlands of the state of Minas Gerais. Today it is considered as a dish of the “caipira” (“country”) kitchen in the states of Minas Gerais and São Paulo, and it is very popular in the South and Southeast regions of Brazil.
In Rio de Janeiro “biscoito de polvilho” is synonym of “Biscoito Globo“, a trademark with a daily production of 150,000 cookies, sold by hawkers on the beaches of Rio de Janeiro. This cookies factory was founded in 1953 in São Paulo by the Ponce brothers. In 1955, when the International Eucharistic Congress was held in Rio de Janeiro, the Ponce brothers started selling their cookies in Rio through the “Globo” bakery, in the neighbourhood of Botafogo. The cookies name was taken from this bakery. Thanks to the successful selling the cookies factory has moved to Rio de Janeiro.
The Rio beach hawkers (tea, lemonade and manioc starch cookies) hold the title of “Cultural Patrimony of Rio de Janeiro” granted by the Municipality of Rio de Janeiro in 2012.

Information source:
Biscoito de polvilho – Conheça mais sobre o petisco mais praiano do Brasil. (Accessed 18 Sep 2014)
• Website Biscoito Globo. (Accessed 18 Sep 2014)

Ingredients
• 500 g sour manioc starch (polvilho azedo)
• 1 level tablespoon salt
• 160 ml water
• 160 ml milk
• 160 ml corn oil
• 1 egg

Preparation method

  1. In a small pot combine salt, a heaped tablespoon of starch and water. Cook, stirring constantly over medium heat, until the mixture thickens.
  2. In a large mixing bowl place the remaining starch. Then add the boiling mixture and stir with a wooden spoon.
  3. Allow to cool slightly. Break up any lumps by rubbing them between your hands.
  4. Add the milk and the oil a little at a time, mixing well after each addition.
  5. Finally add the egg. With a spatula, mix to form a soft dough. If necessary add a little more water or milk.
  6. Put the dough into a piping bag with a plain nozzle (round hole 6-8 mm). Pipe the dough into the shape of small doughnut (4-5 cm in diameter) on a baking sheet, spacing them well apart.
  7. Bake in a preheated very hot oven until they are a light golden brown and crisp. It takes approximately 15 minutes.
  8. Let cookies cool in a wicker basket lined with a clean dish towel. Then place them in cellophane bags and tie it tightly with ribbon.


Posted on: 06 April 2015